The Complete Homeowner's Guide to Fireplaces, Surrounds, and Restoration
Choosing to install or restore a fireplace is one of the most rewarding improvements you can make to your home. Whether you are aiming for a sleek modern media wall, a traditional wood-burning stove, or opening up a long-forgotten Victorian hearth, getting the details right is crucial.
At our family-run Battlesbridge showroom, we guide Essex homeowners through this process every day. We have combined decades of our best advice into this single master guide, covering everything from choosing the right stone surround to safely bringing a disused chimney back to life and prepping your stove for winter.
1. Finding the Right Fire & Grate Type
Before falling in love with a specific design, it is essential to understand what your property can safely accommodate. Your chimney type, room size, and fuel preference dictate your best options.
Understanding Your Flue
- Brick Chimneys: Compatible with almost any fuel type (solid fuel, logs, gas).
- Pre-fabricated & Pre-cast Flues: Common in newer builds. Most fires can be installed in a pre-fabricated flue, but pre-cast flues often limit your choices to slim-line designs.
- No Chimney? No Problem: You can still enjoy a fireplace. Fanned or balanced flue gas fires can be ducted through an outside wall. Alternatively, modern flueless gas, electric, or bioethanol models create stunning focal points without requiring a chimney at all.
Fire Baskets vs. Controllable Grates
If you have an open fireplace, the way you support and burn your fuel impacts how much heat you get and how often you need to tend the fire.
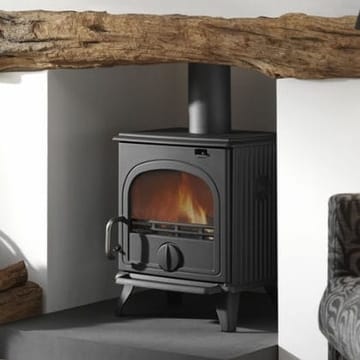
- Fire Baskets: These freestanding metal structures sit directly on the hearth. Because they generally lack airflow controls, they burn fast and hot. They require frequent refuelling (every 10 to 20 minutes with wood) but are unmatched for producing an intense burst of heat.
- Semi-Controllable Grates: A less expensive alternative to fully sealed grates. These use a metal plate sitting at the front of the fire just below the grate, featuring simple slats that can be opened or closed. Because they are not sealed with fire cement, control over the burn rate is limited, operating essentially like a basket tailored to fit specific hearth shapes (such as the British inset range).
- Controllable Grates: These use sliding doors or shutters under the fire to strictly regulate the air supply. They must be sealed into the fireplace opening using fire cement. While sometimes less decorative, they allow the fuel to burn incredibly slowly over a long period without being replenished, lasting up to 10 hours for coal fires.
2. Choosing, Sizing, and Costing Your Perfect Surround
The fire surround anchors your room. As a permanent architectural feature, investing in the right materials and styling adds significant value to your property.
Sizing and Fitting
It is highly recommended to buy your heating appliance first. This gives you the precise technical dimensions you will need before selecting or ordering your surround.
Standard Dimensions: Most off-the-shelf manufacturers produce fire surrounds with widths between 55.5 to 61 inches and heights ranging from 42 to 52 inches.
If your room has unique proportions or a non-standard opening, you can opt for a bespoke service to have a surround crafted entirely to your custom requirements. If you decide to purchase both your appliance and surround from us at Phoenix Fireplaces, our team will visit your home to complete a comprehensive site survey and take care of all the technical measurements for you.
Material Options and Period Styles
- Natural Stone & Marble: Limestone, granite, and Corinthian stone are timeless and retain heat brilliantly. Micro-marble offers a perfectly consistent finish without the natural veins of raw stone.
- Wood & Tiles: Reclaimed oak beams or ornamental tile panels are perfect for rustic or cottage aesthetics. Tiles are also a fantastic budget-friendly option since they are highly customisable.
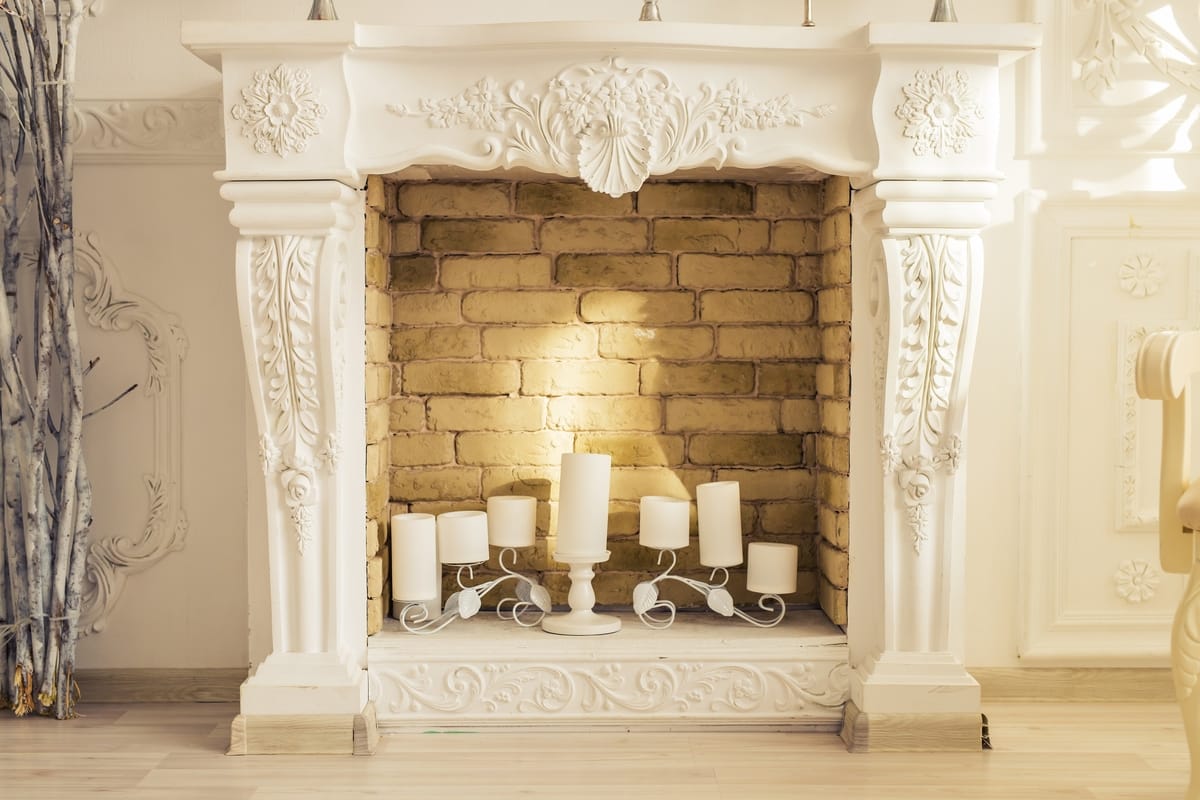
- Cast Iron: Ideal for period homes. Early Victorian designs highlight ornate floral casting, while late Victorian and Edwardian styles favour simpler geometric lines, often incorporating vibrant tiled combination inserts.
Budget Guide: What Do Surrounds Cost?
Prices fluctuate depending on Size, detailing, historical authenticity, and the manufacturer. Here is a general breakdown of what to expect.
- Wood: £200 - £800. Generally the most affordable; highly versatile.
- Tiles: Budget-Friendly. Cost-effective and highly customisable for DIY accents.
- Stone & Marble: From £400 to thousands. Highly durable, luxury appeal, excellent heat retention.
- Cast Iron: £450 - £2,000. Higher end of the bracket typically covers genuine Victorian antiques.
3. Opening UP a Disused Fireplace & Lining the Chimney
Reinstating a dormant fireplace reveals hidden character. While you typically do not need planning permission to open an old hearth, and combustion appliance installation must comply with Building Regulations.
Critical Safety Steps
- Professional Assessment: Before any installation, the chimney's internal structure must be inspected for cracks or obstructions.
- Chimney Sweeping: Over time, soot, debris, and tar build up inside flues, which can ignite and cause chimney fires. At Phoenix Fireplaces, we always sweep a chimney before carrying out a new installation.
- Smoke Testing: Once the opening is clear, a smoke test ensures fumes exit correctly through the roof and do not leak into your living spaces.
The Importance of Lining the Chimney
Lining a chimney in older properties is highly recommended. General wear and tear over decades can compromise the bricks, making a modern stove or fire far less efficient. This procedure is usually carried out after an inspection highlights structural leaks, or when a brand-new fire is being fitted to optimise performance.
A flexible stainless steel flue liner prevents smoke and poisonous fumes from leaking through the chimney breast, stops dark tar from staining your interior walls, and helps the flue draw air safely and efficiently. If you aren't sure whether your chimney is already lined, a registered stove installer or sweep can carry out a camera inspection to confirm.
Troubleshooting Common Chimney Issues
- Damp Patches: Often caused by missing roof flashings or condensation within an unlined stack. Adding cowls to the chimney pot or installing a flexible liner usually resolves moisture issues.
- Smoke Blowing into the Room (Downdraught): This happens if the chimney is too cold, the stack is too short, or nearby trees disrupt airflow. Special aerodynamic cowls or a chimney pot extender can fix this.
4. Why Regular Chimney Sweeping is Vital
For the safety of your home, your chimney must be swept on a regular basis. A Build-up of soot is a major fire hazard and directly hinders the escape of dangerous gases like carbon monoxide. Furthermore, dark, warm chimneys are highly attractive places for birds, squirrels, bees, and wasps to build nests, all of which create dangerous blockages.
- Frequency: We recommend your chimney is swept at least once a year when burning gas or smokeless fuels. If you burn wood or coal all day, every day throughout the colder months, you will likely need it done more frequently.
- Credentials: Always ensure your chosen sweep belongs to a reputable professional organisation, such as APICS (Association of Professional Independent Chimney Sweeps) or NACS (National Association of Chimney Sweeps), and check their certifications and insurances before they begin.
- Integrity Testing: Once swept, a professional can run an integrity test to locate hidden faults in the chimney walls.
When we fit a fireplace or stove at Phoenix Fireplaces, we work closely with trusted local chimney sweeps who inspect and certify the integrity of your stack before your new installation goes ahead.
5. The Rules of Ventilation & Smart Stove Operation
A fire needs a steady supply of oxygen to burn safely and efficiently. While older, draughty houses might naturally provide enough airflow, modern insulated homes require dedicated, permanent ventilation.
By law, ventilation is mandatory for:
- All open solid fuel fires.
- Gas fires over 6.9kw.
- Solid fuel stoves over 5kw.
Placement Tip: Never place a vent at ground level far away from the hearth. It will pull cold air across the room, creating uncomfortable floor-level drafts. The best practice is to fit non-closable vents on the wall directly surrounding the fireplace. This allows the fresh air to be drawn straight into the fire without chilling the room's occupants.
Tips for Efficient Burning
- Do Not Overload Your Burner: Wood burners are engineered to burn fuel slowly and steadily. Cramming the firebox full of wood will not make it burn faster or cleaner.
- Use Quality Fuel: Always buy kiln-dried wood from a recommended supplier. Burning damp wood creates excessive smoke, quickly coats your glass in black soot, and leaves heavy tar deposits in your liner.
- Boost Heat Retention: If you want your stove to stay warm for hours after the fire has gone out, consider installing a soapstone surround or an internal power stone heat tank.
Seasonal Care: Cleaning & Maintenance
Autumn and winter are when you rely on your hearth the most. Taking time to perform an annual health check ensures your setup operates safely when temperatures drop.
Part A: How to Maintain Different Surround Materials
Autumn and winter are when you rely on your hearth the most. Taking time to perform an annual health check ensures your setup operates safely when temperatures drop.
- Marble: Simply wash the surface with mild soapy water and finish with a quality wax polish to seal and protect the stone.
- Brick: Brush regularly to remove dust. If the brick becomes heavily marked by soot, a dedicated caustic masonry cleaner can be used.
- Slate & Granite: Dust with a soft brush and clean surface marks using a mild liquid detergent. Avoid harsh chemicals.
- Ceramic & tiles: Wash down easily using hot water and a diluted household cleaner.
- Cast Iron: Clean with water and a diluted household cleaner. If the metal finishes begin to fade or show silver wear, you can restore its deep original look using a coat of heatproof matt black paint or iron paste.
- Sandstone & Limestone: These stones are highly porous and absorb stains incredibly easily. Always use a specialist pH-neutral stone cleaner and consult the manufacturer guidelines before applying any liquids.
- Wood:
- Waxed Wood: Soak the old wax out using a specialised remover, smooth lightly with fine sandpaper, and apply a fresh coat of beeswax.
- Oiled Wood: Sand gently with fine sandpaper along the grain, then rub in a clean layer of protective wood oil.
- Painted Wood: Strip back flaky paint layers, sand smooth, and prime before applying a fresh coat of heat-resistant interior paint.
Part B: The Annual Stove Health Check & Deep Clean
Before lighting your first fire of the season, walk through these key inspection steps:
- Inspect the Firebox: Clean out all old ash. Use a bright torch to inspect the internal firebrick linings for cracks or breakages. If you spot structural damage, contact your original installer for replacement parts.
- Air the System: Open all air inlets fully and leave the stove door ajar for a few hours. This allows fresh air to circulate through the appliance and chimney stack, clearing out stagnant summer humidity to ensure a cleaner first burn.
- Clean the Glass:
- Wear protective gloves and a face mask.
- Apply a dedicated stove glass cleaner to the window, leave it to sit for five minutes, then wipe it clean with a damp cloth.
- The Old-School Trick: For stubborn soot on a wood burner, dip a damp cloth directly into cold, fine wood ash from the firebox and scrub the glass in a gentle circular motion. The ash acts as a perfect, non-scratch abrasive.
4. Remove Surface Rust: If any surface rust has formed on the exterior cast iron over the humid summer months, rub it away firmly using a wire brush or fine steel wool. Sweep the loose debris clear with a stiff stove brush or a shoe brush, then re-finish with stove paint if necessary.
Note: While prepping your fireplace for the winter chill, don't forget to run seasonal checks on your central heating boilers, home plumbing, and external drains. The worst time for these systems to experience a breakdown is in the depths of winter when you need them most!
If you have any questions about upgrading your flue, sizing a new timber mantle, or choosing the right grate for your heath, our team is always here to help. Call us, send an email, or pop into our historic showroom in Battlesbridge, Essex to view our full collection in person.